This post contains affiliate links. If you use these links to buy something we may earn a commission. Thank you
In my infinite wisdom, I decided to give myself a deadline of the weekend before my surgery to have the girls’ entire bathroom done. Seemed reasonable at the time, until I realized I failed to factor in the fact that the drywall tape needed to dry, the paint needed to dry and the caulking needed to dry. Then I was thrown a curve ball that the handyman I had hired didn’t install any of the plumbing in the tub correctly. As in, things were installed backwards, a pipe was pinched so it ended up spraying water when I turned on the shower (which I only discovered because we had cut a hole in HoneyBunches’ wall to access it), and left the overflow vent and tub drain disconnected. There was about a 5-inch gap between the pipes. This happened 2 days before my surgery. I had an absolute meltdown when water started pouring into my living room when we turned it on. I was under so much stress worrying about the major operation I was about to have and then this was just icing on the cake.
But as always, my dad came to my rescue and asked his neighbor that is a master plumber to come help. They opened up the ceiling in the living room, made the hole in HB’s room bigger and replaced all of the pipes that were messed up, fixed the backwards pieces and gave me a fully functional shower and tub within the span of about 5 hours. To say I was beyond grateful would be an understatement.
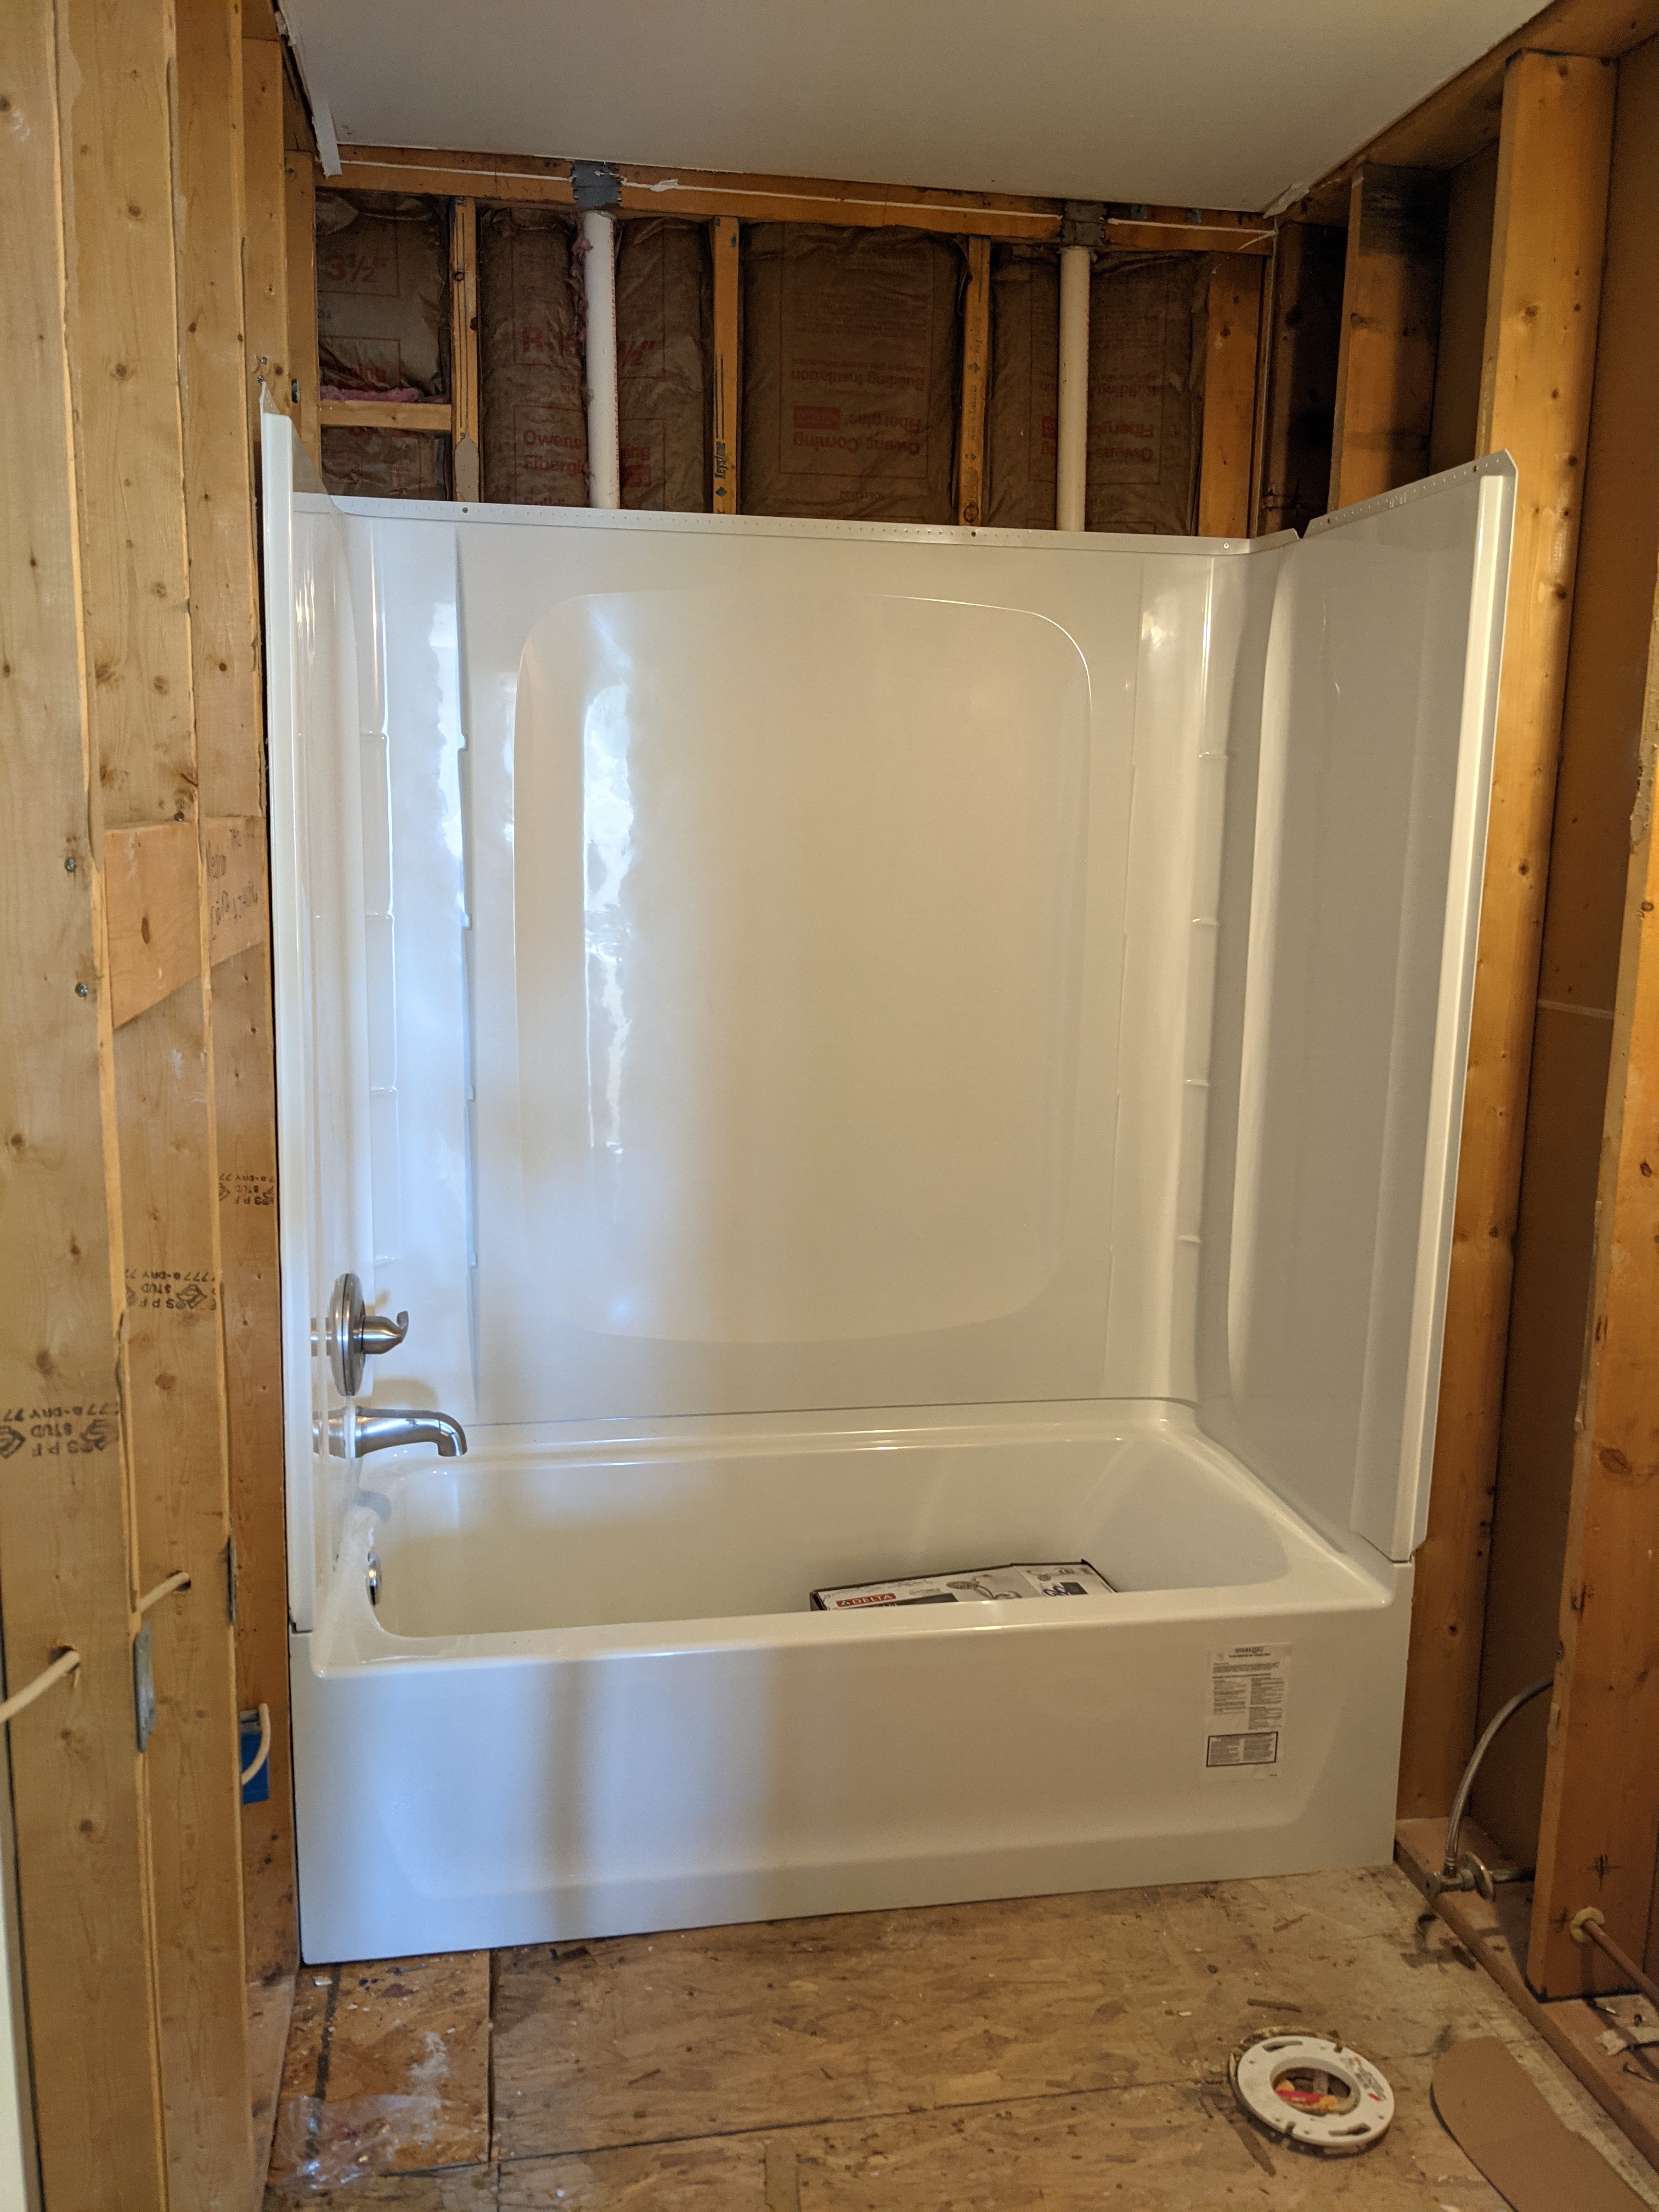
I purchased the tub and shower surround from Home Depot. I had been looking around for months (even before the renovation started) for what I wanted and pricing out the options. I knew I didn’t want just a tub and titled walls, I wanted shelves and something easier to clean, with less chances for water to get into the walls. I found the Sterling Store+ set and knew it was what I wanted. I loved that I could customize the shelving with a 10 or 12 piece set, which was perfect so each girl has their own set of shelves. It installed directly to the studs, which made installation easy and I didn’t have to worry about making sure drywall was set up properly behind it.
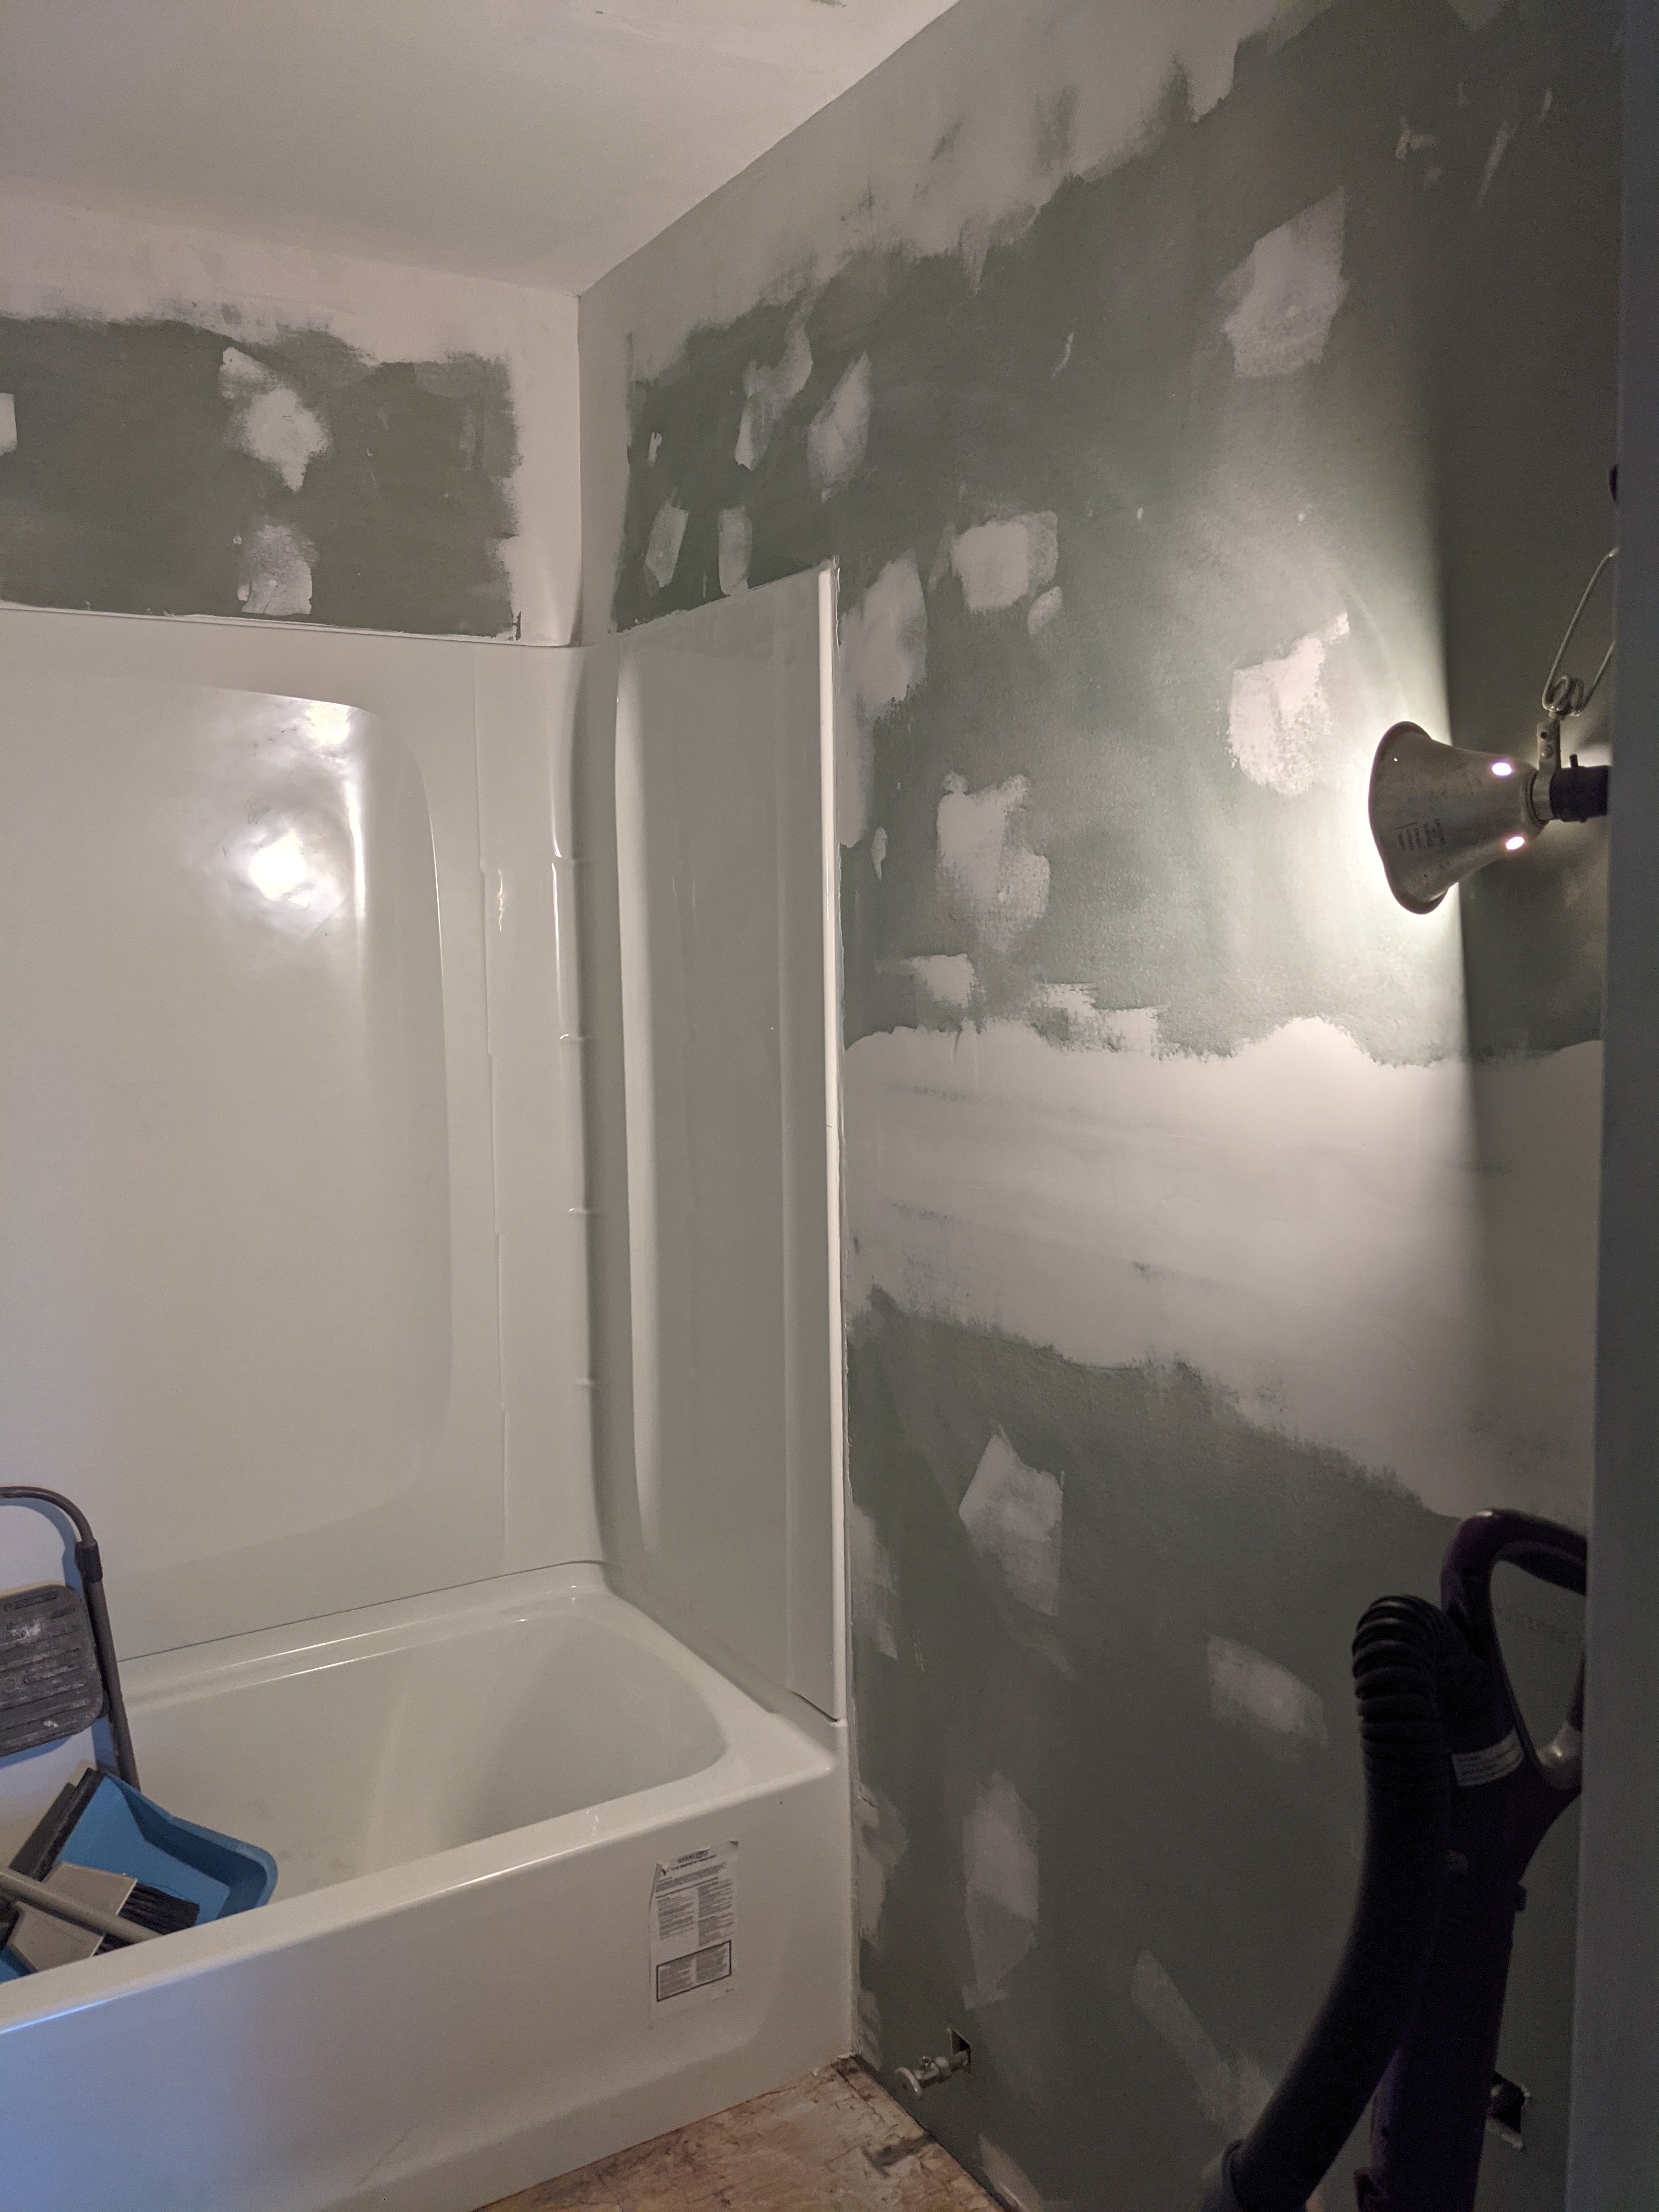
After the tub and surround were in, Dad came over one day while I was working (he was just as anxious to get it all done before my surgery as I was) and measured, cut and put up the drywall. At this point, we discovered the room was VERY much not square, but it wasn’t anything we wouldn’t be able to remedy with lots of taping and filling. I chose mold and mildew resistant drywall for the entire room as I was worried about the chance of mold reoccurring. Dad left the mudding and taping to me, mainly because I was determined to figure it all out myself. I spent lots of time YouTubing how to do it and one morning I woke up and got to work. I chose to use an all-purpose drywall mud and mesh tape since it was inevitably going to be a moist environment and the mesh was recommended over paper tape. I cussed a lot during this process, as my perfectionist tendencies kept trying to come out to make sure things were square and neat. Plus being only 5’3” reaching the ceiling over the tub was challenging. Some areas needed thick mud due to the unevenness of the room, which increased the drying time.
Sanding took me what seemed like forever and the dust coated me, the floor, the ladder, the hallway and stair railing (note to self, next time put up plastic tarps lol). Finally, I was ready to paint! I picked out a light blue from Behr that included primer and set to work. The girls of course wanted to help and I had been promising they could help me with the paint throughout the project. The color turned out so wonderful, exactly as I had pictured (I didn’t even get a sample, just bought one I liked). I did 2 coats of the paint to make sure things were fully covered due to the new drywall.

After the painting was complete, I finally got to install the vanity I found on Facebook and painted. After cutting holes for the plumbing, we secured it to the wall and re-attached the door and drawers. I had purchased tip out trays from Amazon for the fake “drawers” they put on vanities, as I wanted to make sure I maximized storage space since I removed the medicine cabinet from the wall. The ones I purchased can be found here. They were pretty easy to install and I love that the girls can hide their toothpaste in it and not clutter the counter tops.

I had picked out a life proof vinyl plank flooring with a wood look. It comes with an attached underlayment so Dad was able to get it installed within a few hours. After we got the flooring in, we installed the toilet and then I got to put the final touches on the bathroom. The girls had picked out the curtain, rug, toothbrush holder and trash can. They did an amazing job, considering I hadn’t even picked out the paint color when we bought the accessories.

All I need is the mirror (finding one has been a pain) and to add some personalized décor and it will be DONE! It turned out exactly as I had imagined and makes me even more excited to move onto another project.
